These are instructions of everything I can remember. I should be available. Call me if you need. 707-403-8100.
Notes for July 21 –
- Note there is one box that has about 50+ cups and money in a box. The money is to seed the donation jar with about 4 $5 bills.
Keep it Clean
- When you are done setting up, please organize the boxes and whatever nicely behind the chairs or along the concrete wall.
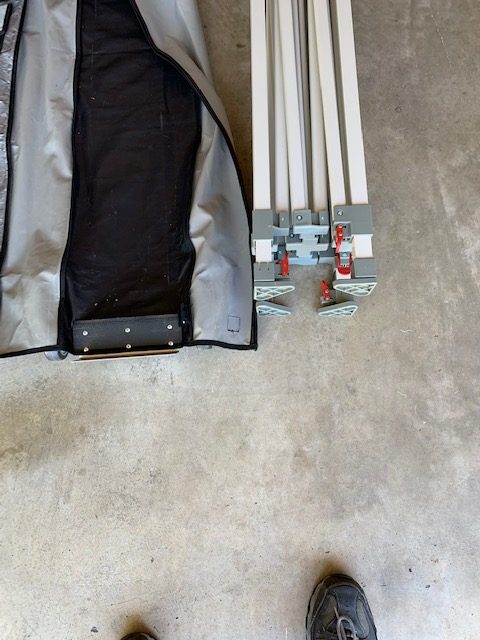
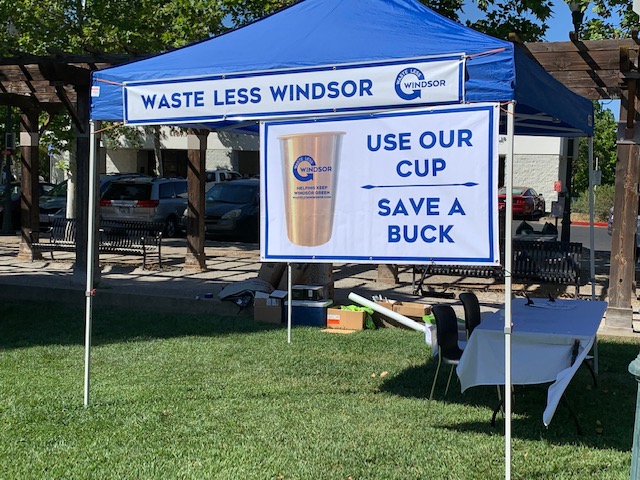
Put up the tent.
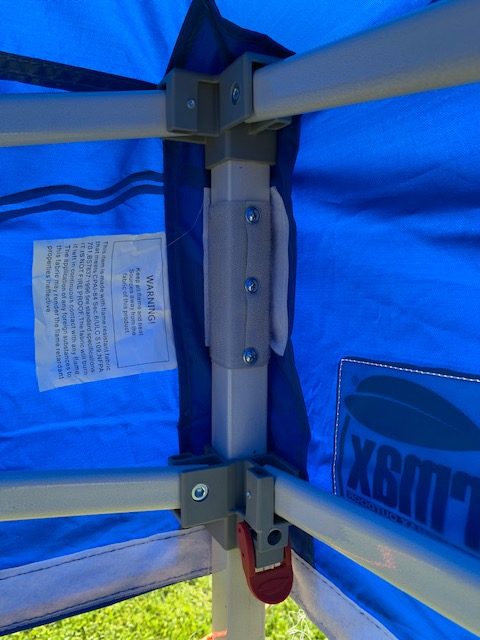
- Take the tent out of the bag and set it on its feet. Careful – if you turn the tent on the wrong end, the pole for the fabric top falls out so you may have to put it back in. It is a pole with a little round thing on the end and goes down the middle of the frame center, with a spring going in first.
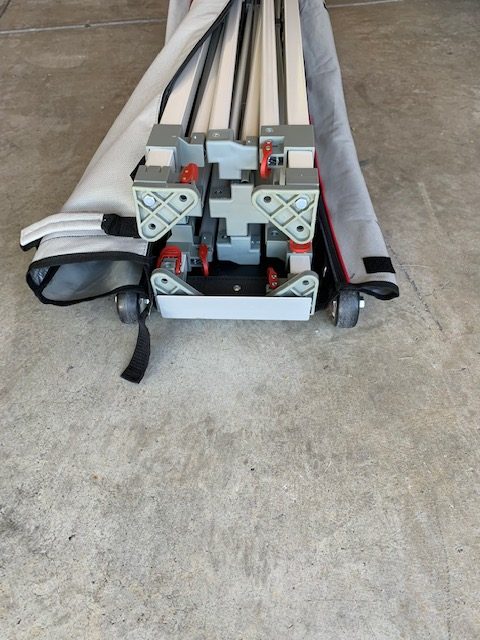
- Leave the sliding legs collapsed as you put the thing up. Do the legs at the very end.
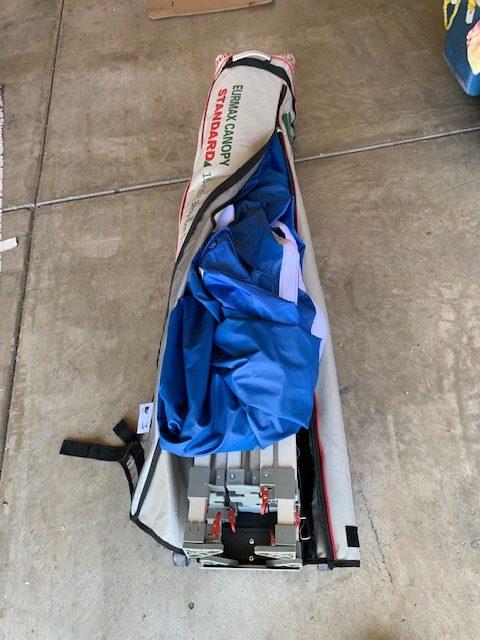
- Put tent frame up on its end, and open it just a little. Put the top on the tent loosely. The side with the sign loops at the top should be facing to the right – towards the Green.
- Watch your fingers and pull the tent open from the sides, stepping back.
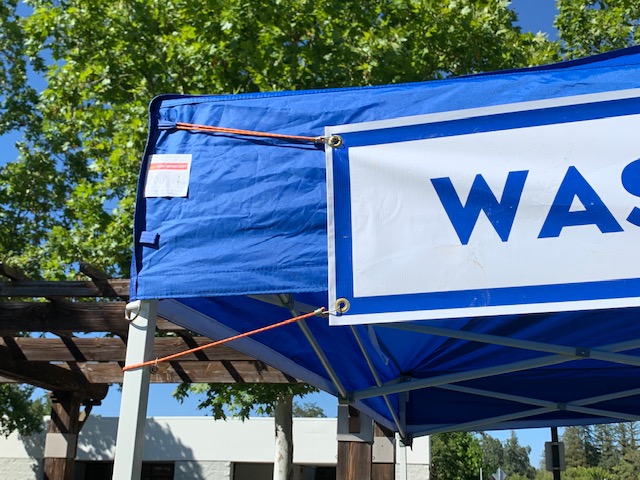
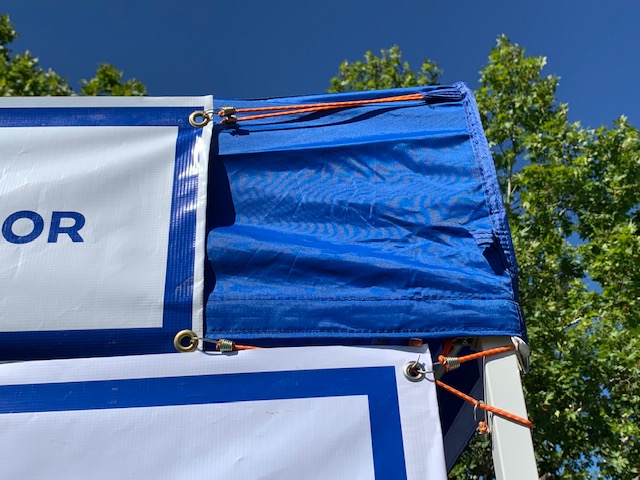
- See pictures below.
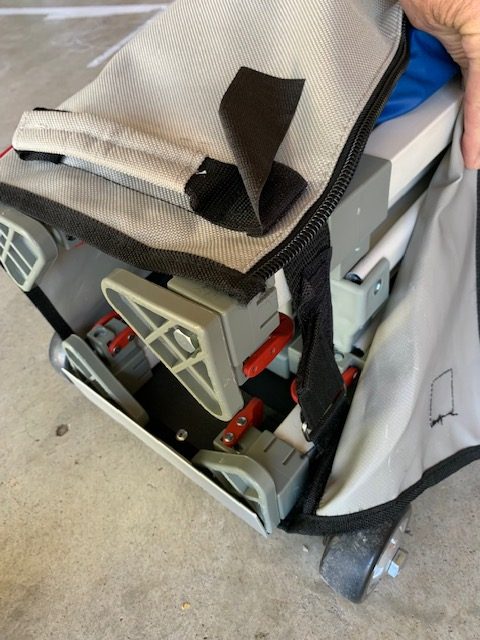
- Lift the sliders UP on the leg tops to snap in place. Put the top on with the velcro at the corners.
- BEFORE you pull out the legs, use a couple short bungee cords to attach the long sign to the loops on one of the sides.
- Then pull the legs out.
Other Stuff
- Table up. Tablecloth on the table. Use clips on bottom edge to hold it down on both ends.
- Glass donation jar on the left side (looking at the front of the booth). Sign about donations in the jar. Money is in the grey box. The concept is that people get a thank you gift of either cup for a $5 or larger donation. We are not “selling” the cups. They are a thank you gift for a donation.
- A few cups next to the jar.
- Stack of sample sorting signs with a clip on the table.
- Sign up/volunteer cards with a clip on the table. Not very important.
Signs
- Take grey or blue or white tape and tape all the blue-yellow lids up and open.
- The signs start out in groups of three, with 3 bungees on each bunch (hopefully).
- They should end up that way.
- There are 50 signs – 45 in groups of 3 gray/blue-yellow/green, plus 5 green “towels only”.
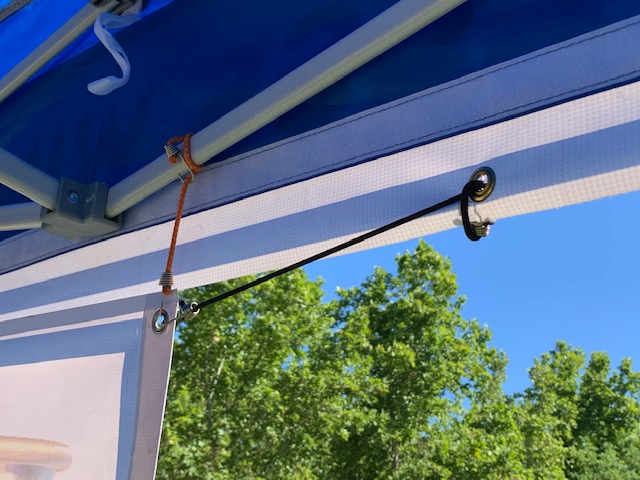
- Lids of cans are open, with signs in the slot. Metal straps on the wheel axels, bungee up to the loops of the metal stand of the signs. Sorry I don’t have a picture!
- Take down the signs starting at 7:45 or so. Bundle them in bundles of 3 with 3 bungees each bundle.
- Count them, and make sure you have all of them. They’re expensive!
Money
- One person always in the booth with the money.
- Put some money in the jar, maybe four $5 in there.
- Take money out of the jar and keep it safe. Leave four $5 or so in there. One person always there.
- Put money in the grey box or in the car.
Volunteers
- Please sign the signup list sheet if there is one on a clipboard. Might not be one there this time.
Cups
- Please do not stack the cups without liners – don’t scratch the ink.
- Take off the plastic covers when given out so we can properly dispose of them.